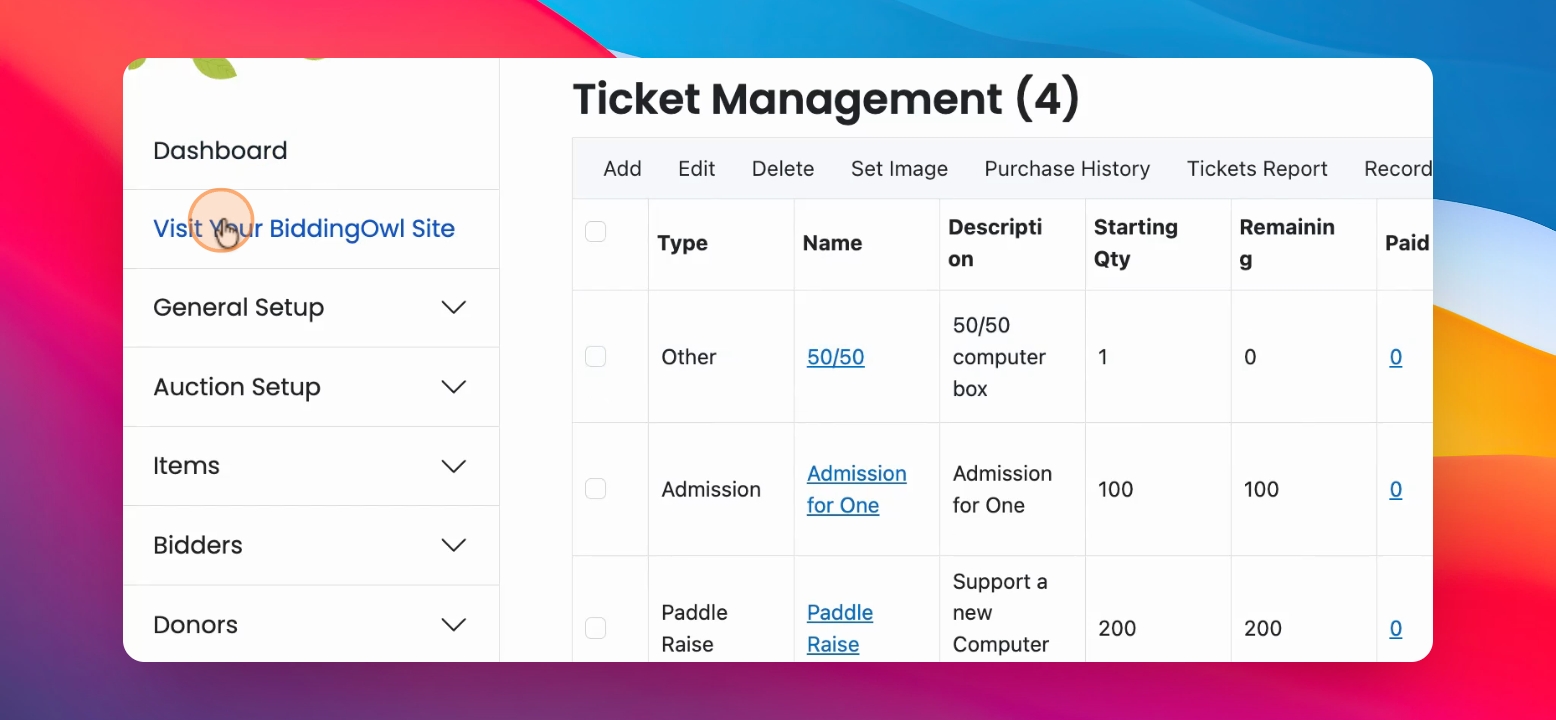
Let's learn how to add a ticket or a fund need to your system. Let's look at the steps:
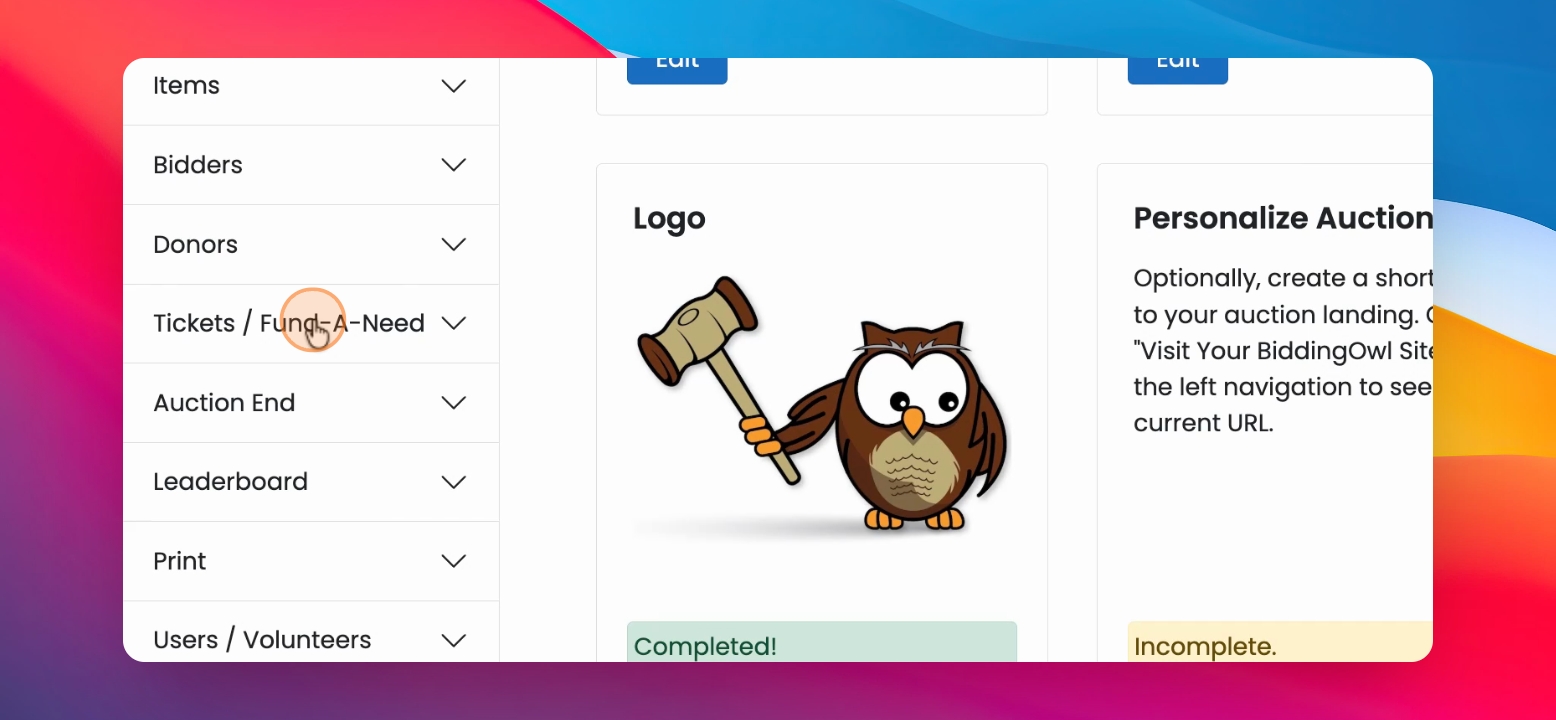
Step 1: Navigate to Tickets
In your left hand side menu, navigate to tickets and fund-a-need and click on Add ticket.
Step 2: Enter Ticket Name
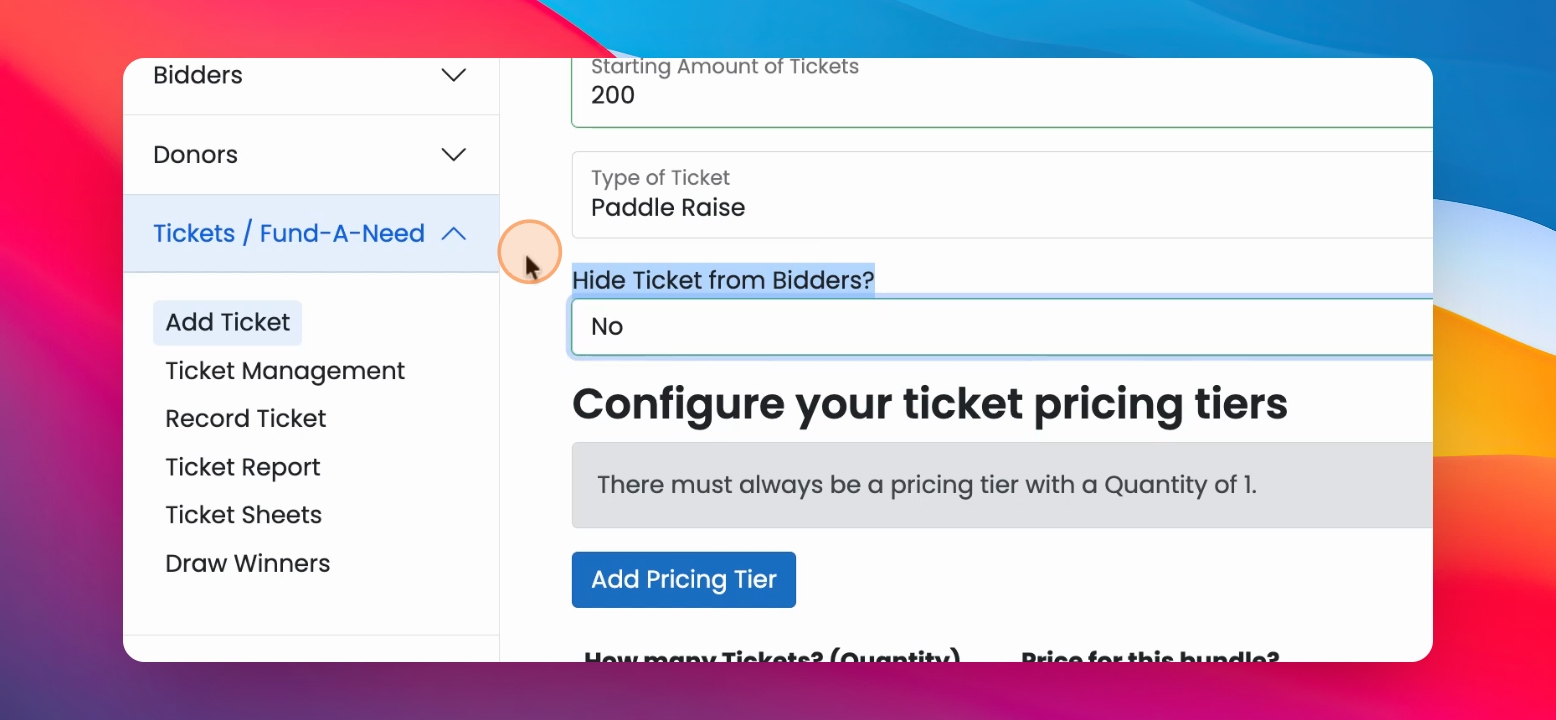
Enter your ticket name. In this case, let's call it a Paddle Raise
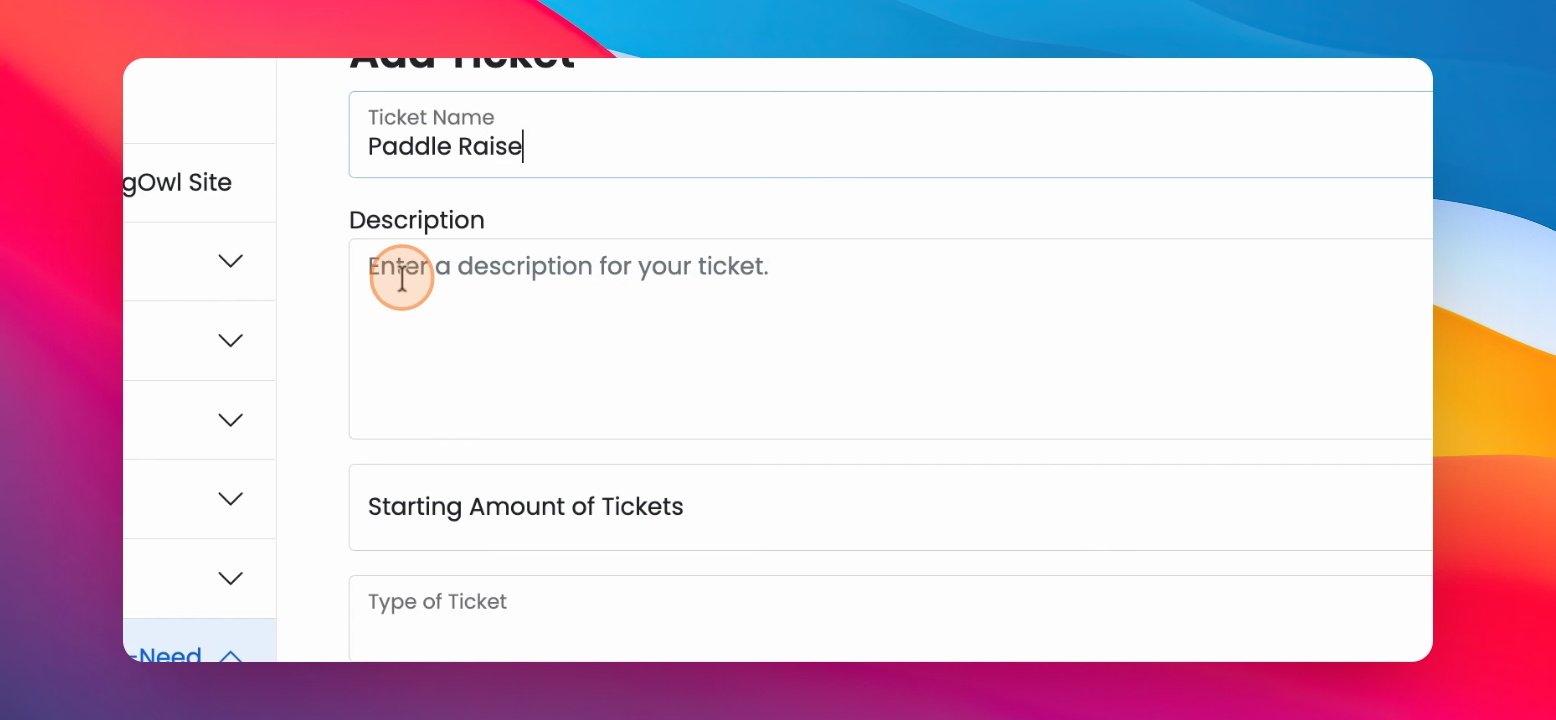
Step 3: Enter Description
Now enter your description. Let's say "Support a new computer lab".
Step 4: Determine Ticket Amount
You then have to determine the starting amount of tickets. So, how many tickets do you actually want to sell or have available? Let's set ours to 200.
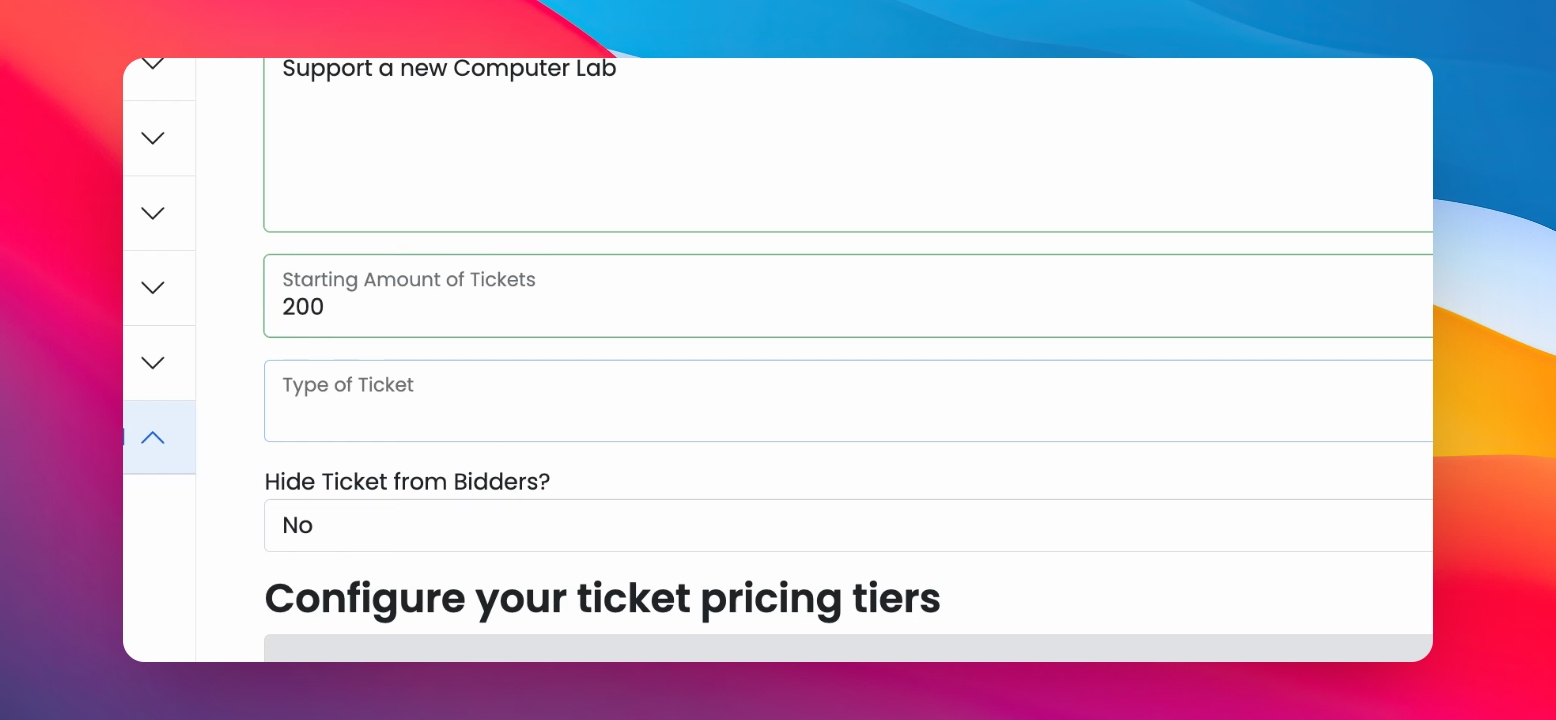
Step 5: Select Ticket Type
Then you select what type of ticket you like to have. An admission ticket, for example, is just like what it is.

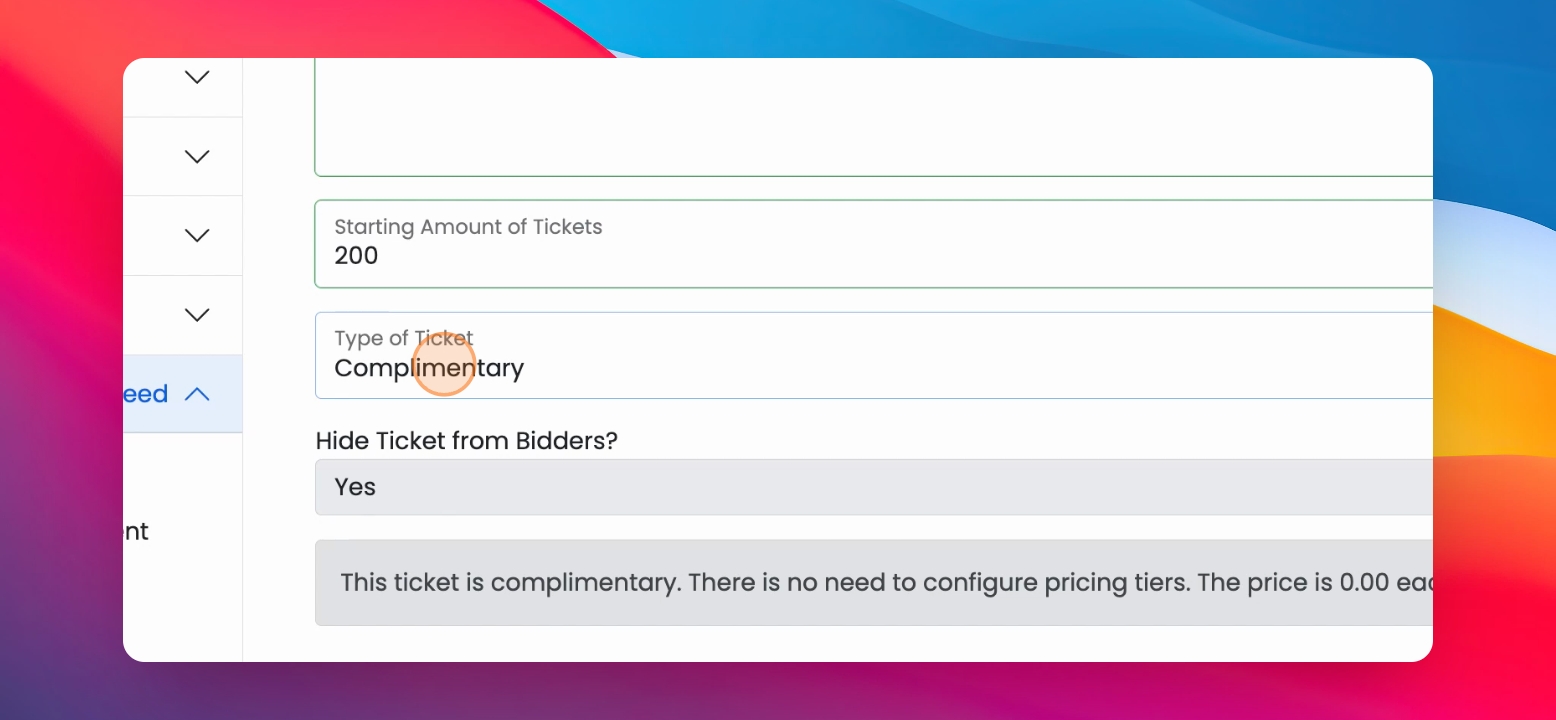
Step 6: Set Complimentary Tickets
These are zero-dollar tickets and automatically hidden from your website. This option is for your back-office use only to account for all attendees who might come to your event.
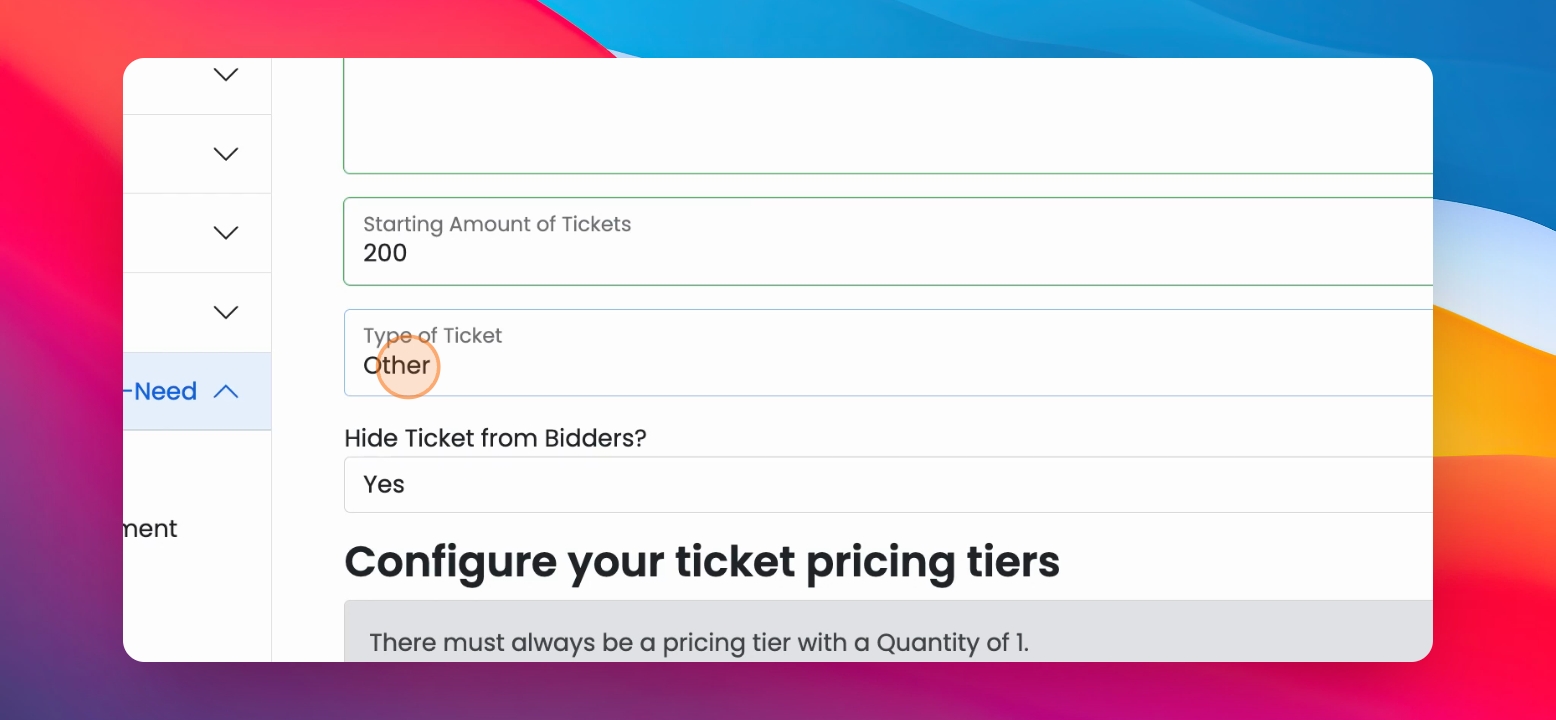
Step 7: Other Ticket Types
Then you have other tickets. Basically, anything that doesn't fall into the other categories.
Step 8: Fundraising Draw
You can also do a fundraising draw, which is a raffle.
Step 9: Set Visibility
Determine if you like to hide the ticket from your bidders. We don't want to hide it, so we select no.
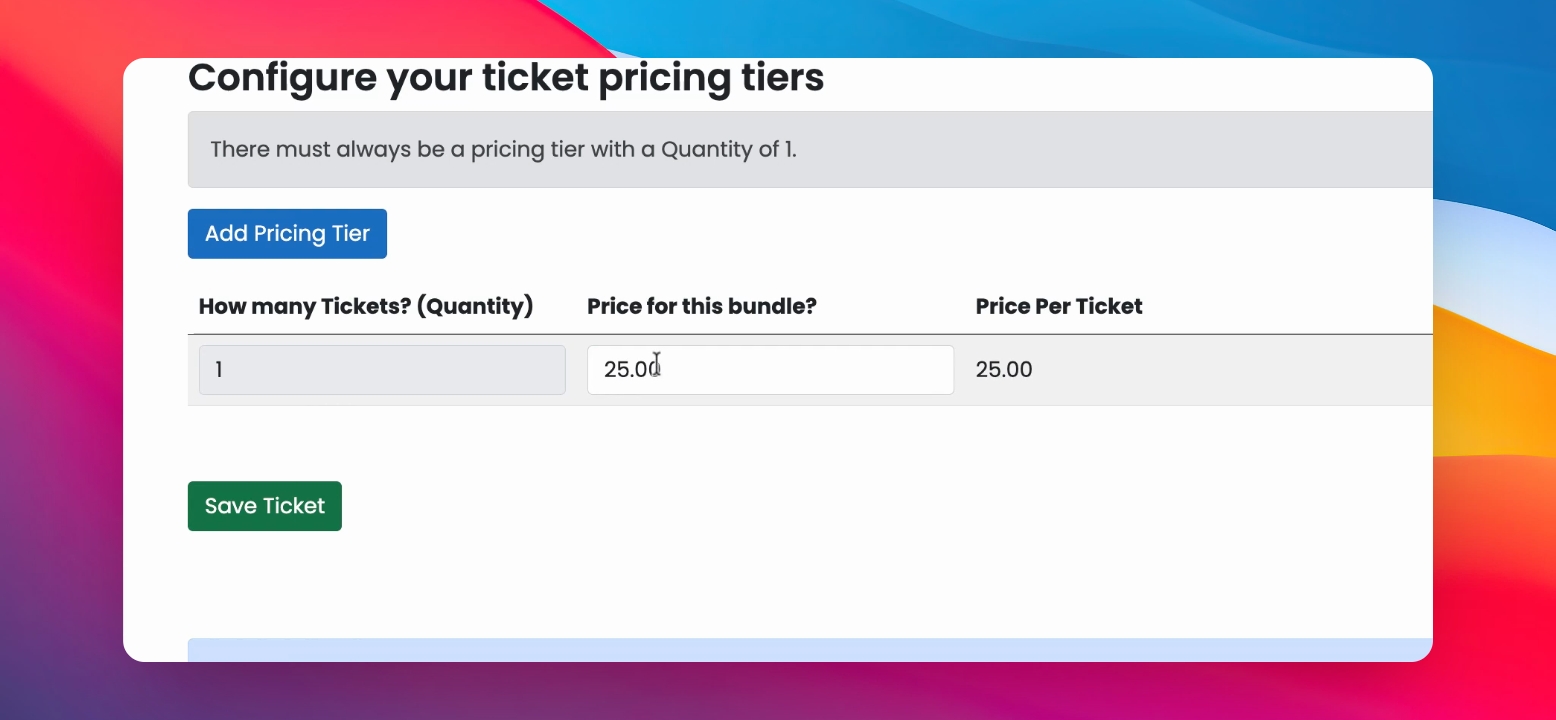
Step 10: Add Price
The only other step left is to add the price for this ticket. So we are going to make it $25. Finish by saving the ticket.
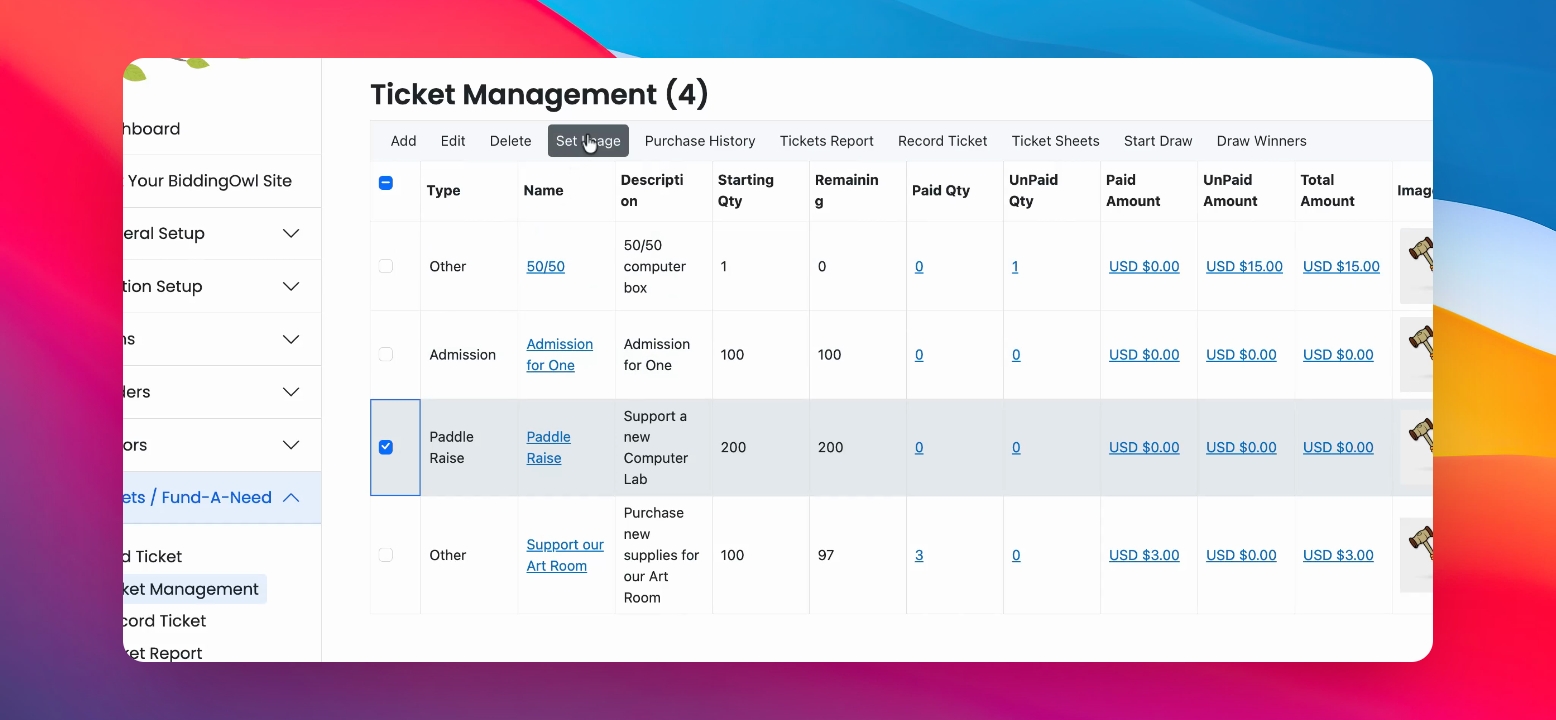
Step 12: Add an Image
If you'd like to add a picture, select the ticket, then click set image. You can drag and drop your files or click on browse.
Step 13: View Tickets on Website
If you go to your website, you will find your tickets all there.